You know you are a diehard crafter when your response to having an overgrown grape arbor is “I can make wreaths!” Winter pruning provides the material.
You are getting the idea of this weeks blog. Using grape vine canes to form a wreath for decorating. Not too hard and fairly long lasting, these wreaths can be decorated for any holiday or as a decoration for your home. The basic wreath can be redone as desired too. Wisteria, Thornless Rose (‘Lady Banks’), Weeping Willow would also work well for this project.
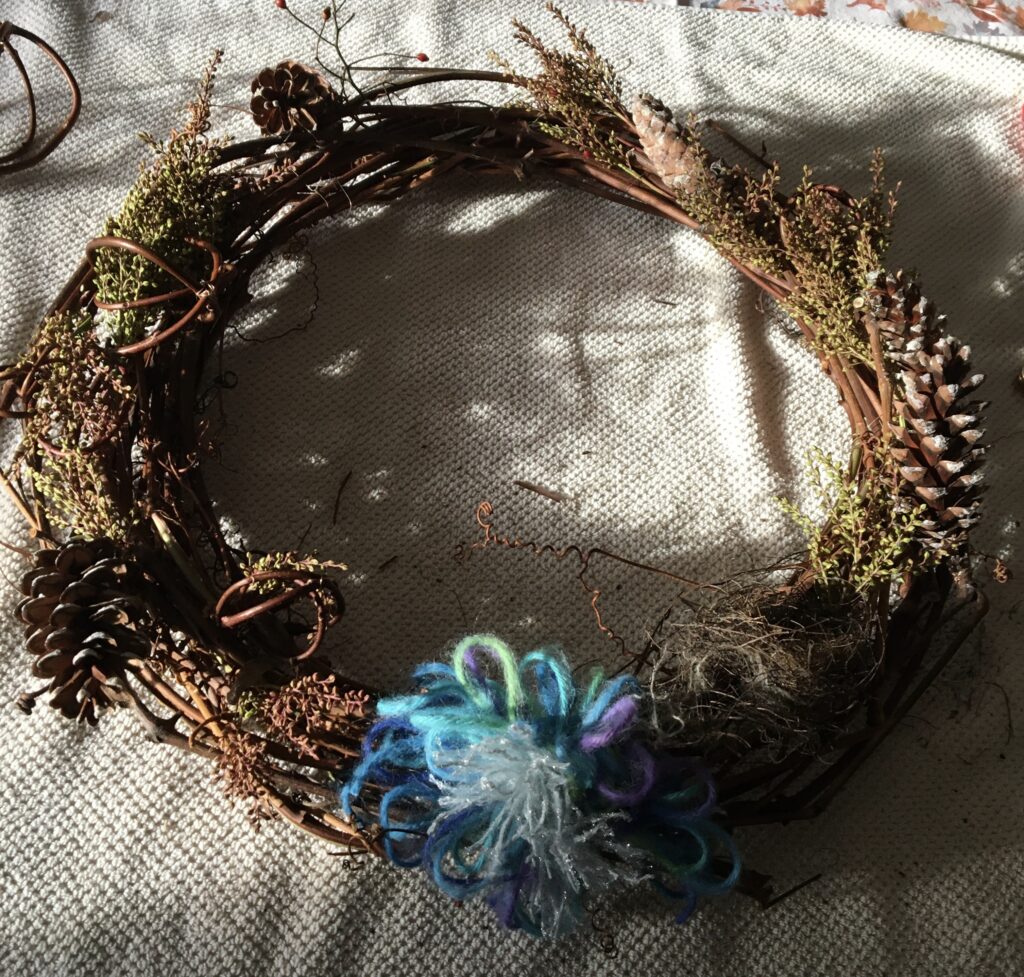
The wreath shown at the top of the post was decorated with man made ribbon and ornament but I am going to show how to use natural materials from your garden or the forest to decorate them. I added yarn bows in the hope that the birds would pull out strands for their nest or nest in the bow itself!
Normally I would do all this work outside but in this case it was November at our home in New Hampshire making working outside very frigid!
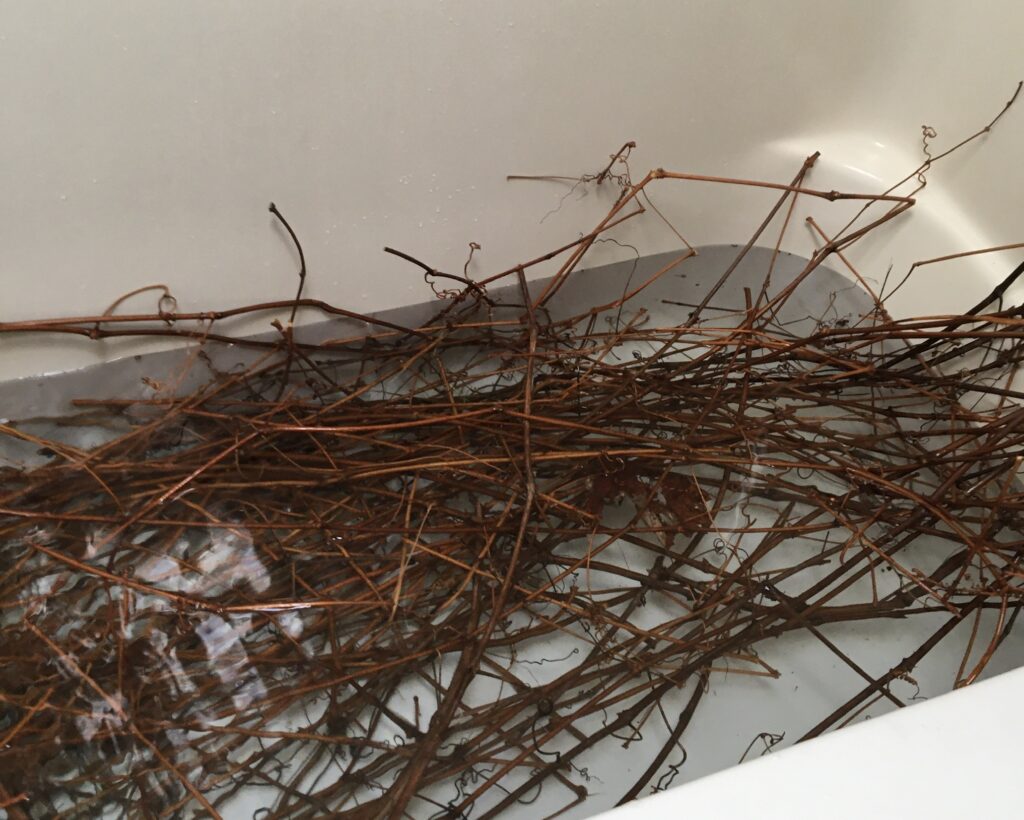
So I brought everything indoors and did the work on the covered dining room table. Pictured above are the grape vine prunings getting a bath in my bathtub. Luckily I had already showered!
I soaked the canes in warm water to make them more pliable or bendable and to clean them. I wanted the longest canes I could get from our plants, to use as the wreath form. While soaking them for about an hour I gathered my other materials and tools. I turned the canes in the tub a few times to get them evenly wet and clean.
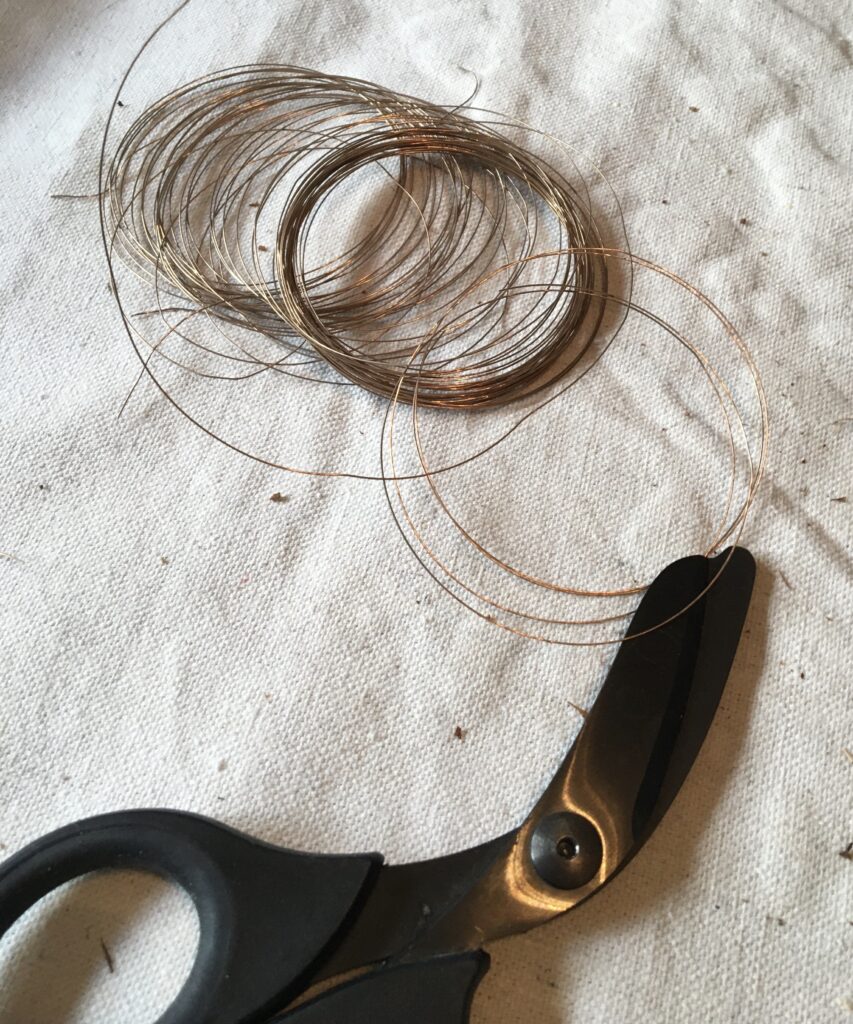
I like to use a fine copper wire to wrap the canes together in the circle and attach my decorative items to the finished wreath form. Copper wire is very easy to bend and holds up in outdoor conditions very well. It doesn’t rust but will turn green as it ages giving it a nice patina. With fine wire like this you only need a pair of scissors to cut it. My son-in-law had these well used suture scissors but they are just an example.
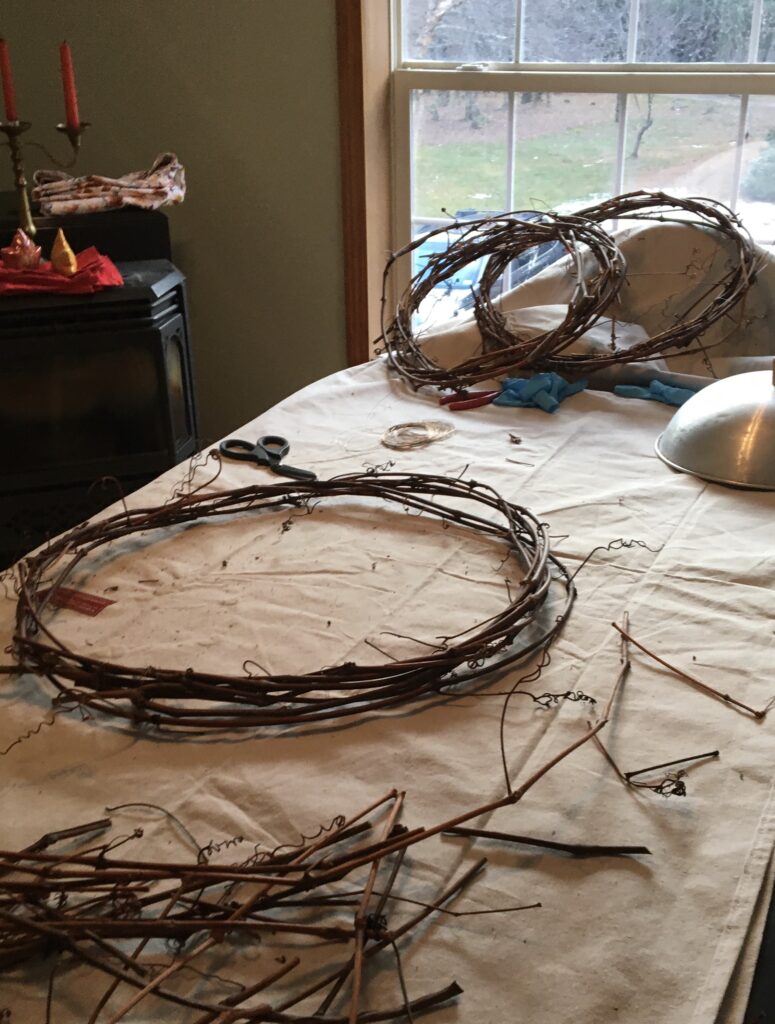
After laying down a tarp on the floor, I brought in the grape canes or vines and laid them out to pick and choose from. The cats really liked this activity!
I started by using a skillet lid (shown in background) as good size round form helping me to judge the roundness of my wreath. I only needed the lid for the first few coils to work around. The canes are easy to bend and can be spiraled around each other pretty easily. Heavy or thick sections of the canes can be used at the joining point and covered with the bow. Sometimes the beginning of the wreath circle is a bit awkward and not the best shape but as you work more canes around the wreath it gets a nice round shape. Stop as you twist the vines together and wrap with the fine wire to hold the canes together and pin down any pop outs. The wire is small and natural color so it blends in well with the materials of the wreath. You want enough circles of canes to give the wreath a robust and full look.
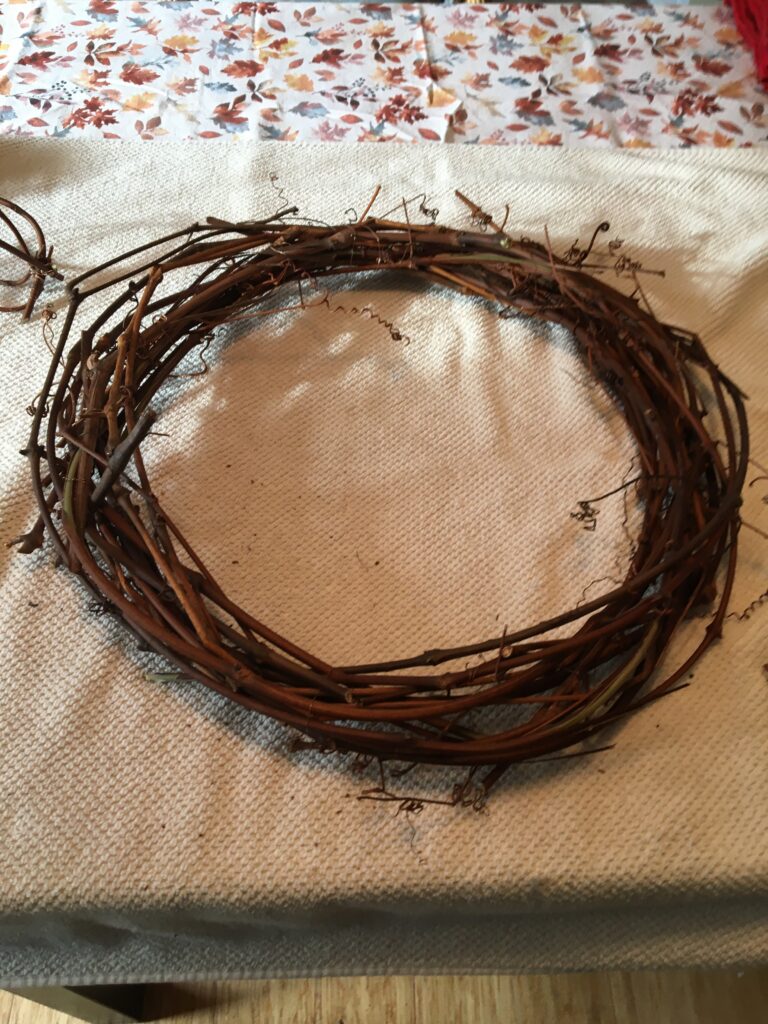
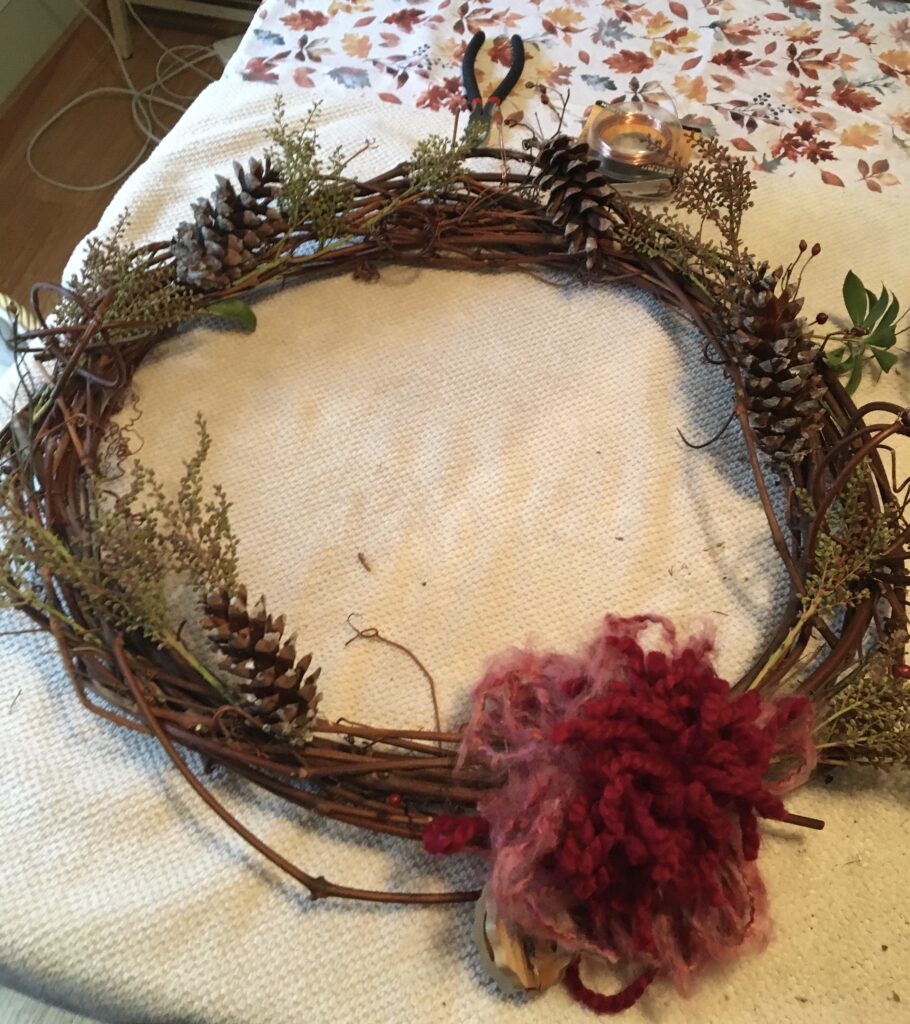
You can see I put down a towel to catch all the tiny bits that fall off. An old towel is great because its easy to shake out later. You can see that the wreath now has a nice, natural look and shape with lots of places to tuck in the stems of your natural materials or wire in decorations.
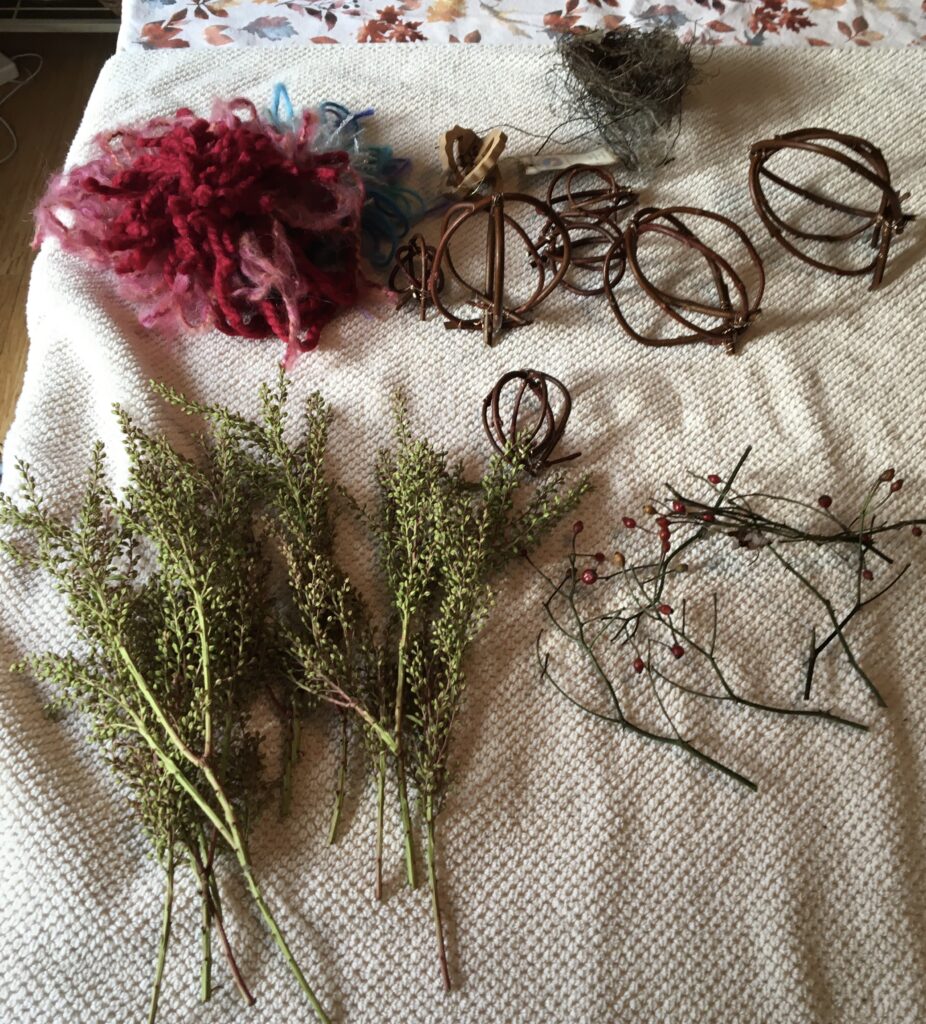
Now the fun part! Or the more fun part! You can see the fluffy red yarn bow I made. These are made by making figure 8’s with your yarn while pinching in the middle of the eights. When you has a thick layer of the yarn figure 8’s tie the center that is pinched in your fingers and knot. Leave long tails to tie onto the wreath. Cut the center loops to give a pom-pom effect. Set aside to add last on the wreath.
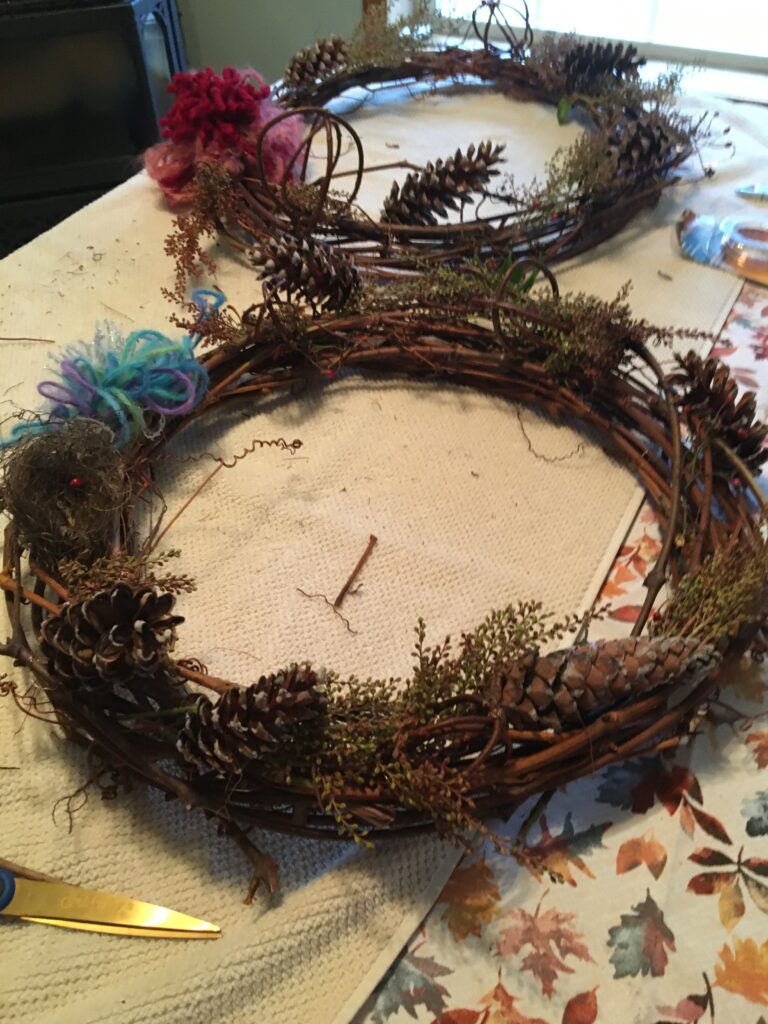
Other materials shown are tiny rose hips, a small nest I found in a shrub, Pieris (Lily of the Valley Shrub) branch ends with seed capsules (they are slightly pinkish), some little globes I made from maple suckers or sprouts, and lastly pine cones (not shown in this photo). The maple suckers/sprouts come up off the base of the tree and are really easy to bend. All this material is from our garden in New Hampshire but you can use found materials for your garden, forest or park. Best to use materials that dry well i.e. acorns, cones, seed heads, twigs with lichen, berries that dry to be hard. Of course you can use ornaments, ribbons, even little toys or figures. That’s the crafty part.
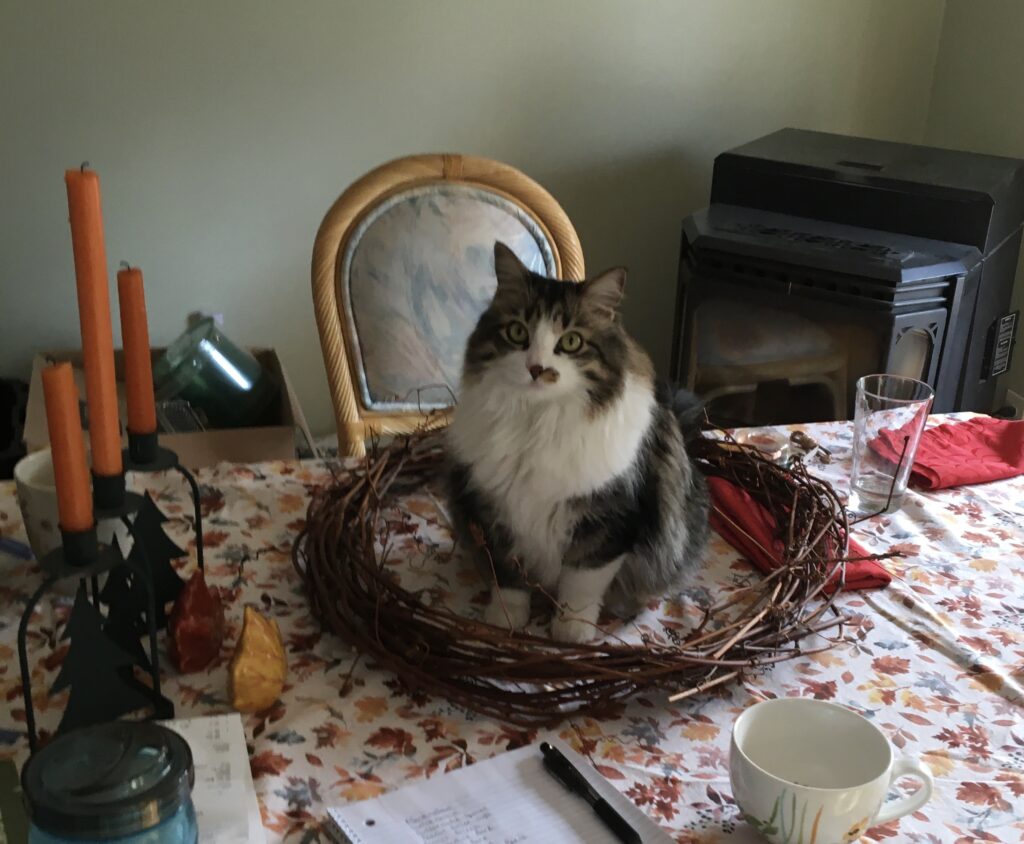

Our kitty thought the circle was for him!
As you can see these wreaths are very natural and meant to be a gift from the property for my brother and sister out in California. I wanted them to be year round decorations that they could enjoy for many years bringing a little of the New Hampshire forest to their homes. The last step is to add a hanger.
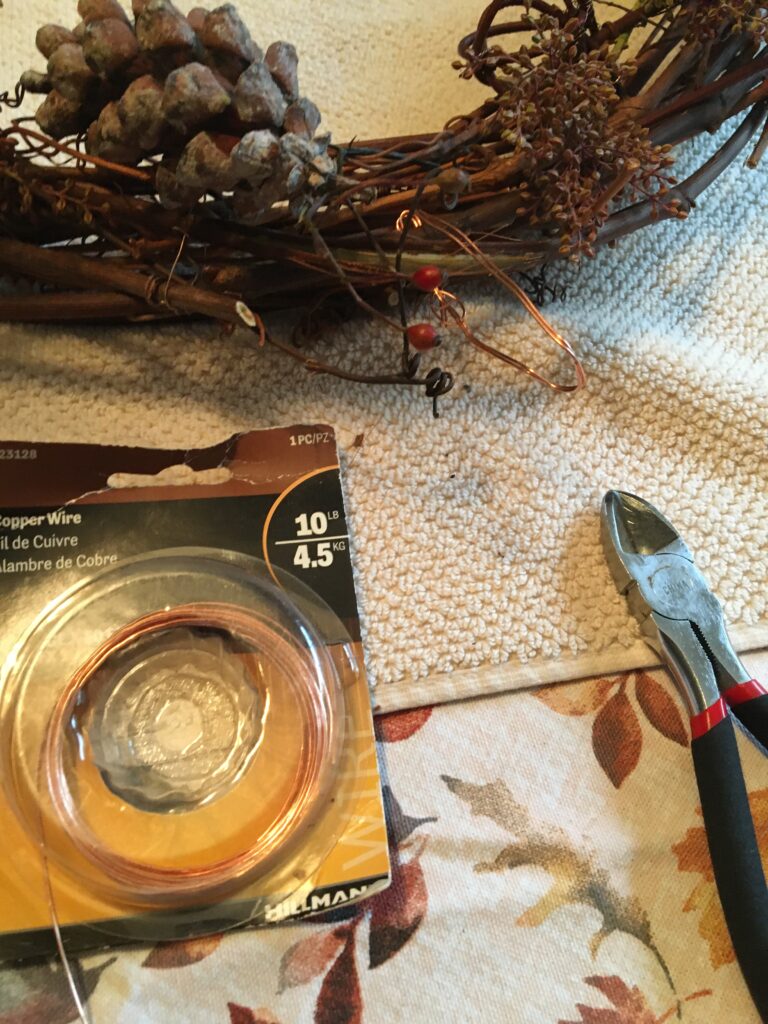
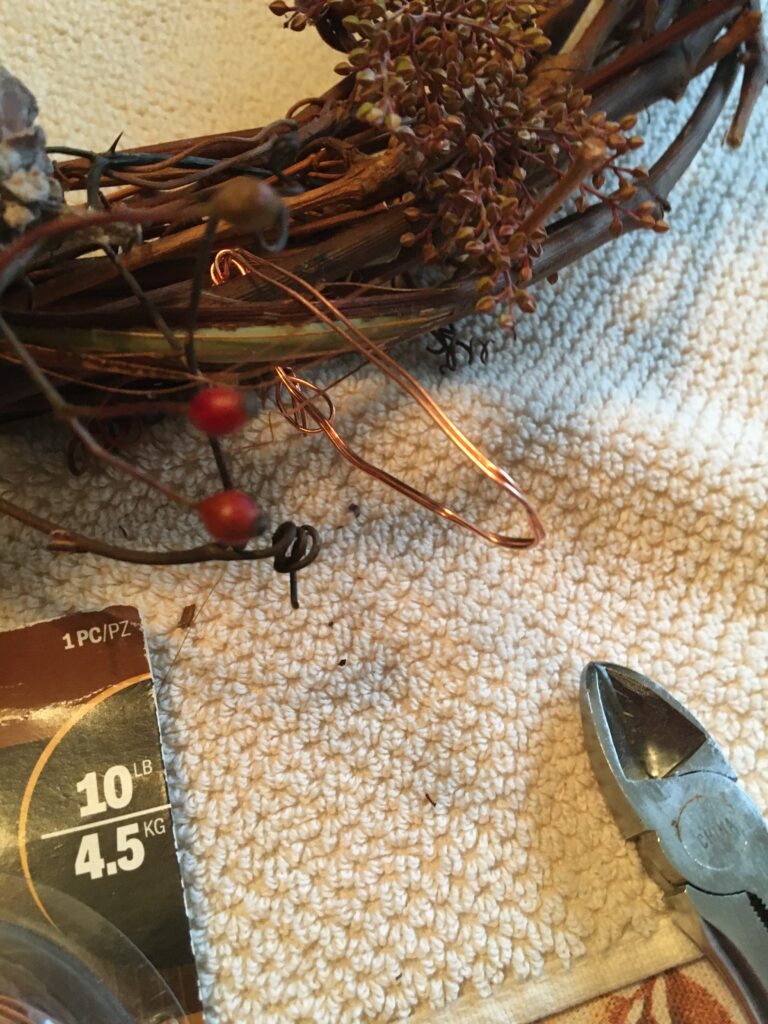
Use the heavy copper wire and double up to make a good loop. Attach the loop to the back of the top of the wreath. Hide the attachment point from view and twist ends of the wire together. The heavier wire requires wire cutters but is still easy to bend.
Pick a nice spot for your wreath indoors or out (where the wind and weather doesn’t blow it away!) Enjoy and have a beautiful holiday season!
Have questions or want to suggest fun things to decorate wreaths with? There are so many possibilities! I would love to hear from you or even see photos of your garden crafts.
https://www.loismillersgreenspeak.com/contact
