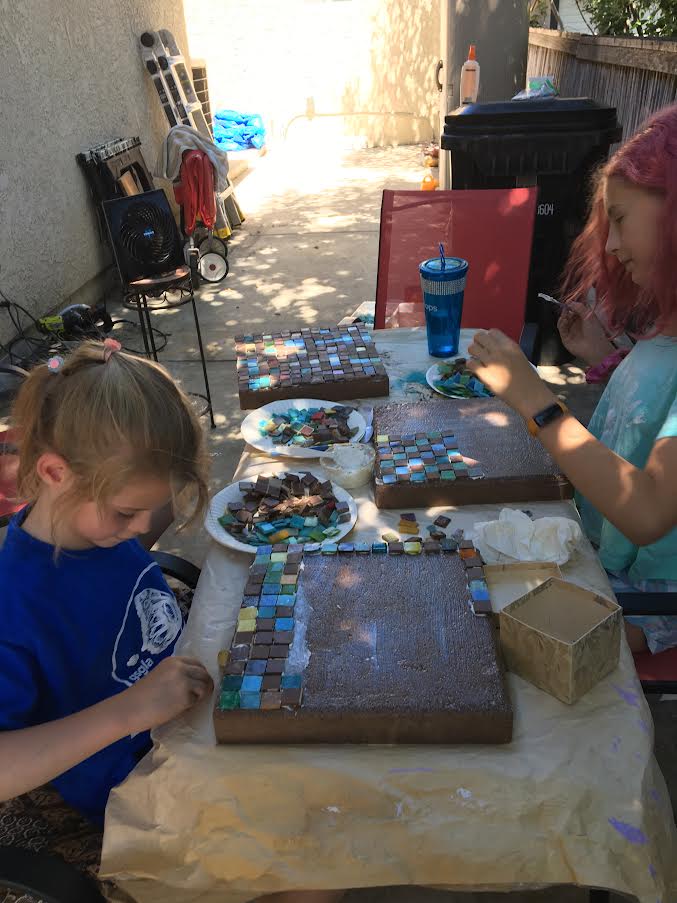
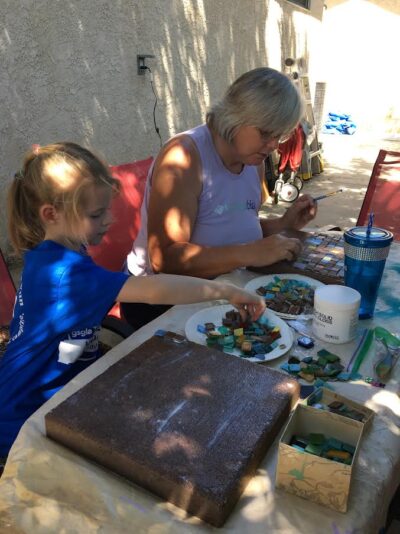
Last summer my granddaughters, ages 6 and 12, and I set up a table in the shade and worked on a fun and useful project. Making mosaics is easy enough to be a good craft project with children.
We needed a few stepping stones or pads to make a landing outside the shed door. Luckily, in my vast collection of art and craft supplies I had just the thing- a lot of venetian glass tile and some porcelain Japanese tile. When I was growing up our family had an art supply store that had started out by selling mosaic tile. It was interesting feeling sitting down with the girls to do this craft because I hadn’t done this type of project since I was their age. My memories kicked in and I showed the kids how to glue and space their tiles. I opted not to have them start with complicated patterns that would require a lot of tile cutting. We used them as their original 1″x1″ size and made mostly geometric designs or random patterns. After the girls finished their pads I made a few with a bit more design using tile nippers to break up the tiles. They are actually pretty easy to cut with the nippers.
If you can’t find the type of tile shown then any thin ceramic or glass tile can be used. Broken up ceramics or glass works too but be careful of the sharp edges.
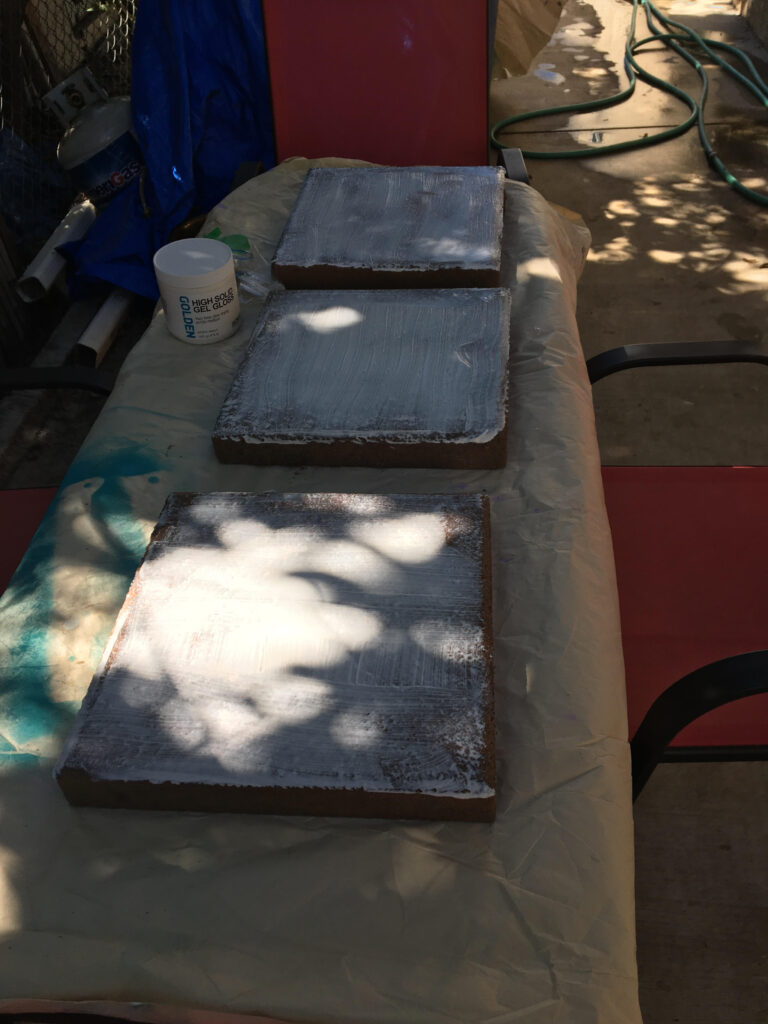
As the base we used precast concrete squares 12″x12″ size. We had some leftover squares from an old path and just enough, so that worked out well. Before we started I coated the concrete squares with high solid gel to fill the pores of the concrete and make an even surface to glue the tiles too. You could use tile mastic for this project. I like working with the high solid gel because it is water soluble but adheres very well when dry. Allow several warm days for the gel to dry. This product is related to white glue and is low in toxicity.

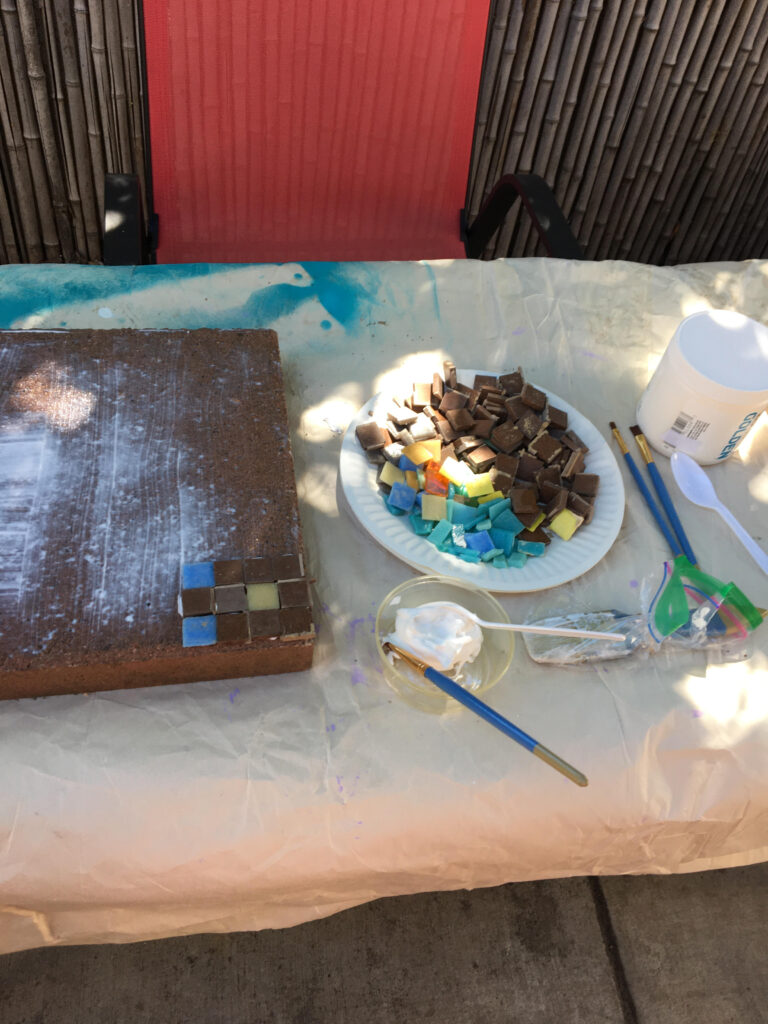
We used simple tools for this project- plastic spoons for dipping out the high solid gel, small brushes and inexpensive as they get fairly messed up doing the project, and plastic and paper plates to hold materials.
The high solid gel is an acrylic, water soluble product that acts as the glue in this case. As I said you could use tile mastic instead or even white glue.
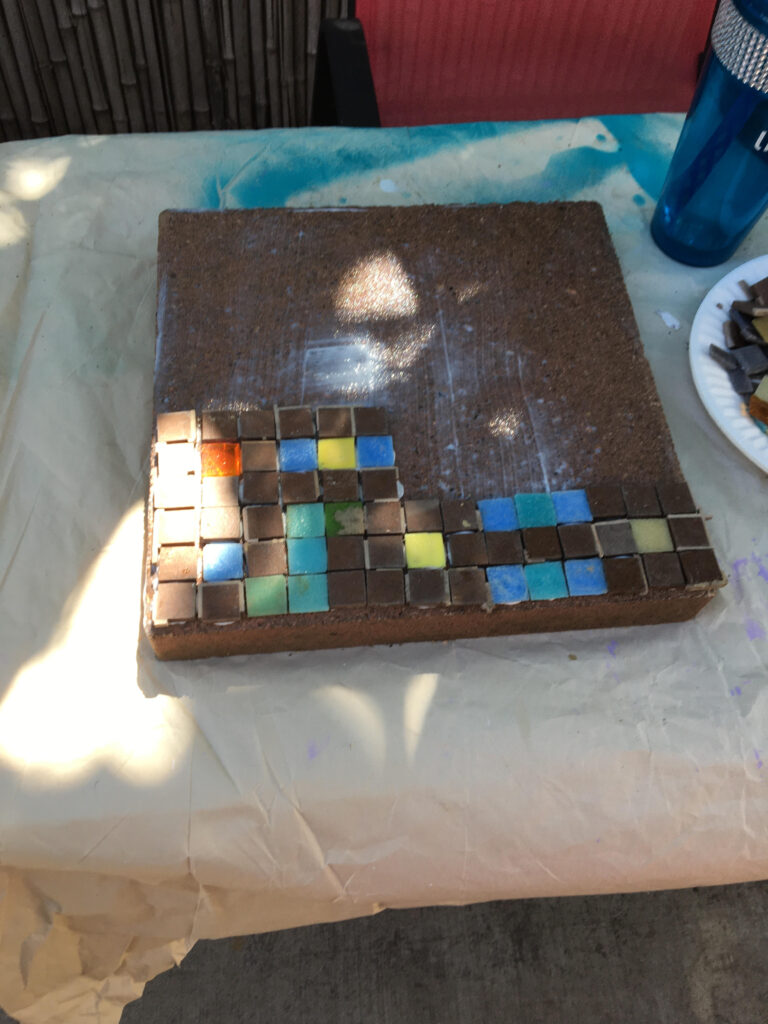
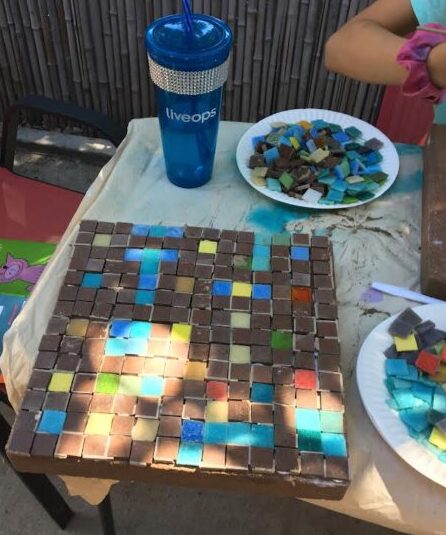
Leave about 1/8″- 1/4″ gap in between the tiles for the grout. Okay to do this by eye as its a rough and rustic craft. As you can see I used some recycled brown porcelain tile from an old counter top with grout still stuck to some of the tiles. This actually helped the girls to see how big a gap to leave!
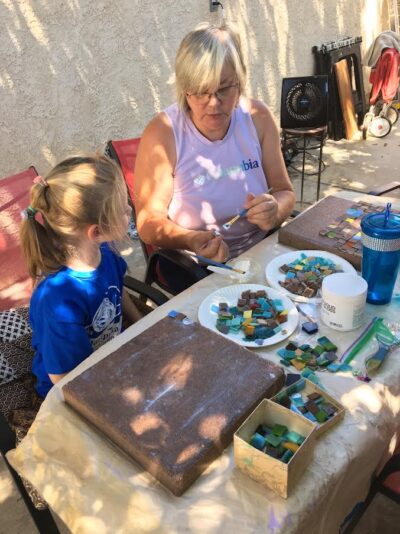
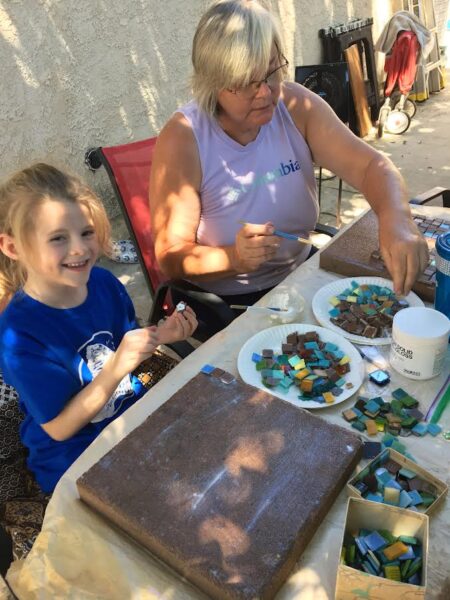
The girls picked their colors and what kind of a pattern or design they wanted. There was a little squabbling over the colors that we didn’t have many of- of course but all went well. We worked on it over a few days in short durations and then let them dry in the sun for at least 3 days.
Once dry I could grout the squares and set them up in the garden. I used dry grout mix and mixed it on site. Actually sanded (grout with sand in it) charcoal color grout. My Mom liked to add some white glue to the grout (1/8 of a cup to 2 cups) – she thought it sealed they grout well. Since she taught the art of mosaics I always took her advice.
When mixing it it should end up the consistency of just a bit thicker than applesauce. You want it to go into the joints easily but not be runny. It’s a messy and all at one time kind of job so block out a morning to do the grouting. The packaged grout comes with instructions and I did it in the driveway so I could rinse off my sponge a lot.
You will need a tile sponge and a grout spreader- a cheap one is fine about 2-3″ wide. Also have a bucket handy for rinsing your sponge. You will need to dump out the water often and rinse sponge with the hose as well as in the bucket. Wear thick gloves for this part of the project.
One of the tips I learned is to not leave to much haze on the tile surface. Grout is laid over the surface in 1/2 cup globs then pulled across the tile with the grout spreader to get it into the joints. If you miss some joints just add another glob and spread again. Use a damp sponge to wipe off the excess grout- this takes more than a few passes. The grout is left to set for 15-20 minutes then cleaned off again. Okay to leave a haze or minor amount but not enough to set up overnight as you will not be able to get it off once set.
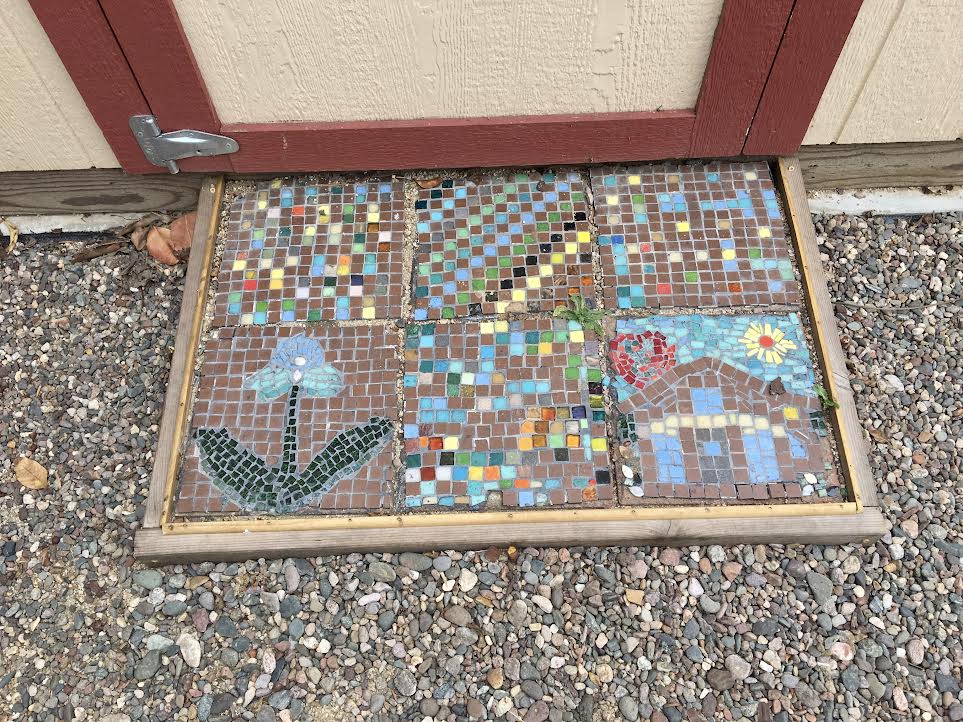
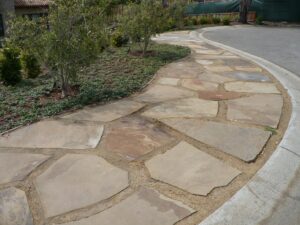
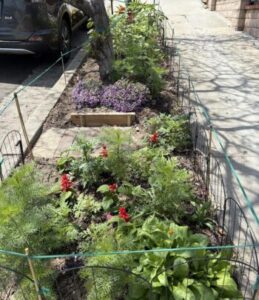
Once the pads dry and are cleaned up they are ready to go out into the garden. I laid these over a bed of compacted granite fines (very small particle granite) then swept sand and fines into the joints. I edged it with 2×4 redwood and ended up adding a quarter circle trim piece at the edge because we were loosing a few tiles. Normally you would want a tighter edge around the tile but this worked out all right for our rough and ready project.
The girls and I love our project we did together and they got to do one of the oldest masonry crafts in the world. Cool!
Update:
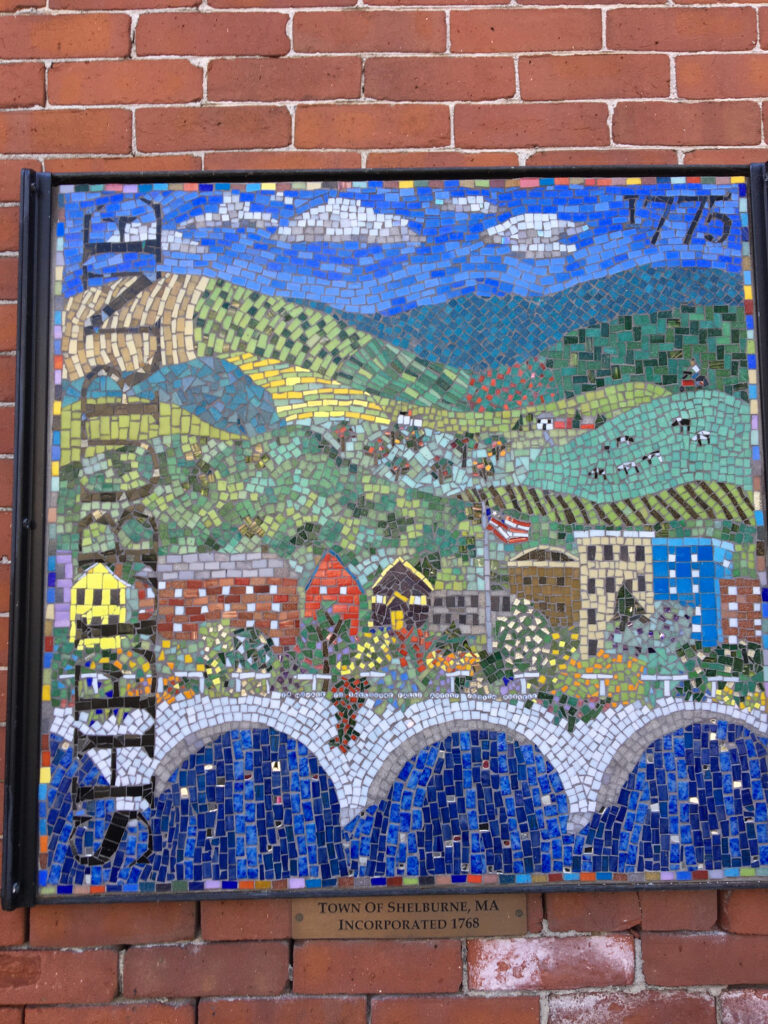
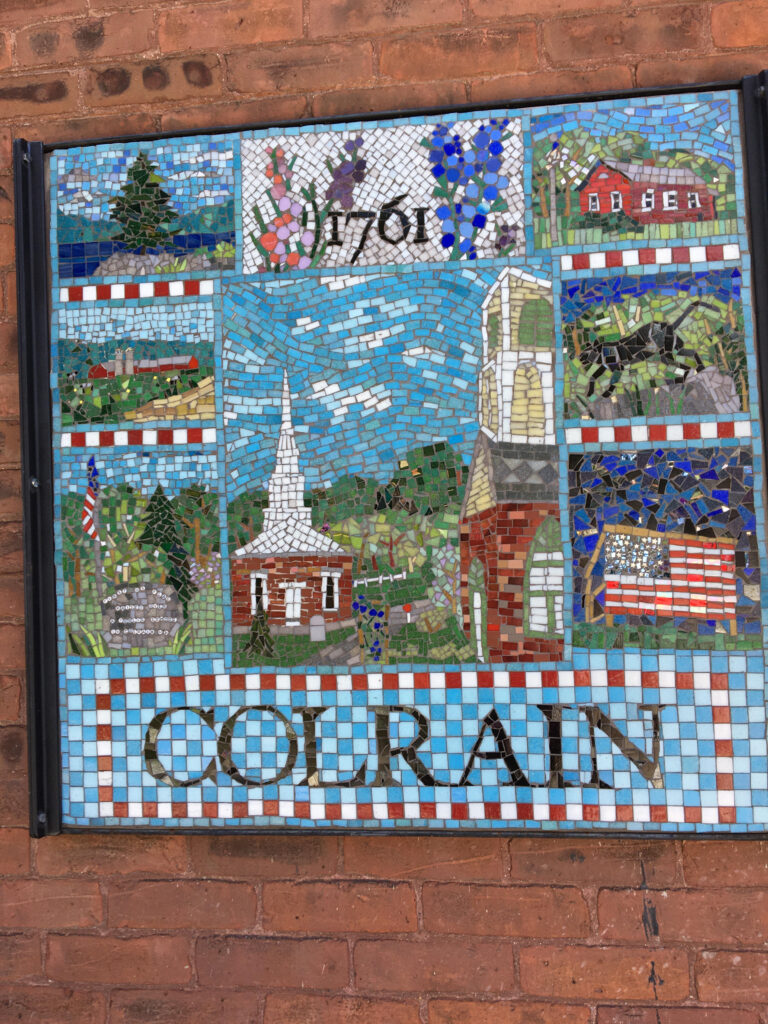
I visited the little town of Shelburne in Massachusetts last week. I wanted to see the famous Bridge of Flowers but it is being refurbished. I was delighted to see these wonderful mosaic plaques done for the town and for Colrain nearby. They are great examples of small mosaic panels and I wanted you to see them. They are way more detailed than examples I showed in the blog and so well done.