Choosing Hardscape Materials for your Garden
A Run Down on Different Types of Paving

Cost is always a big factor in choosing paving type for your landscape, as well as, appearance. Once you have a plan laid out then it is easy to start getting prices on having paving installed or installing yourself.
The cost of paved surfaces is based on number of square feet. The price per square foot quoted in a bid includes the material, labor and overhead costs of the contractor. Average paving costs vary from $6 per square foot up to $30 per square foot. The paving cost does not include demolition, hauling or building an area up to be at a higher grade or meet a door that is 1’ or more off the ground. Contractors may give you an overall bid without quoting the price per square foot. This is acceptable if their bid is competitive with other bids.
A good-sized patio is at least 12’ wide or long by 15’ wide or long. The patio must be fitted to the area of course. This size accommodates a 4-6’ table with chairs and area to have a bbq set up. There is room to move around on the patio even when the chairs are pulled out. With your plan you can measure your furniture or obtain measurements for a set you like and bbq then lay it out on the plan to make sure you have the space needed for your family. You may want additional items on the patio so allot space for them.
Types of Paving Used in Landscaping:
Hard packed fines of decomposed granite with binder
Asphalt (usually only used for ball courts and driveways)
Plain Concrete
Rock Salt Finish Concrete
Sand Finish Concrete
Exposed Aggregate Concrete
Pigmented Concrete
Concrete with Brick or Stone Tile incorporated Stamped Concrete
Interlocking Pavers
Brick
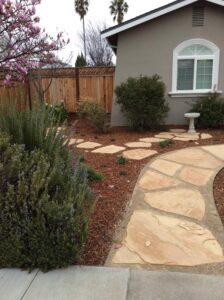
Flagstone, Natural Stone Tile or Travertine
This list is in order of least expensive to most expensive generally.
Decking whether Redwood, Cedar or Composite is quite expensive now and is comparable to Flagstone and Travertine in cost.
Costs will vary considerably by region due to labor rates.
I think it is good to look at paving types for landscaping in photos, landscape supplies and around your community and get a sense of what you like in appearance while weighing in the expected cost. Once you have a good idea of what appeals to you and the size of the areas you are installing then a paving contractor or landscape contractor can give you a price on the installation of the paving. It’s o.k. to have more than one choice because with the number of square feet it is easy to calculate the cost of most paving types. The caveat to this is if an area slopes off or needs to be leveled to lay the paving, then there will be additional cost for the grading and for building retaining walls as needed.
If you are interested in laying your own paving, then it is equally helpful to have a layout to scale so that the materials list can be made up for the size of the area being paved. You save a lot in labor cost, but it means researching installation methods, putting in the time to install, and hefting around heavy materials to get it done.
Each type of paving material has its advantages and disadvantages.
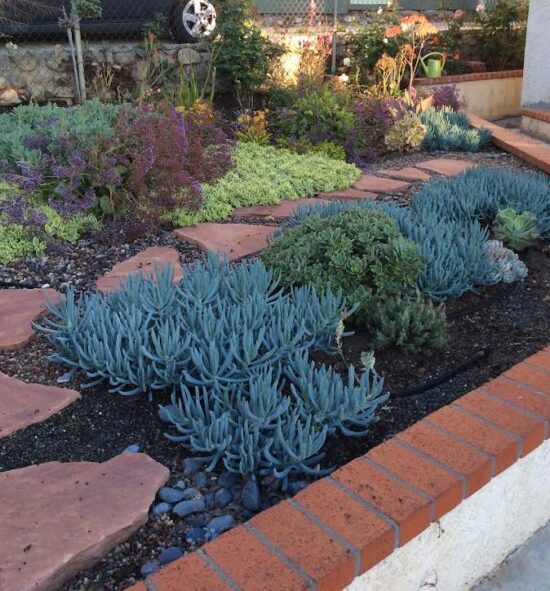
Decomposed Granite or Fines
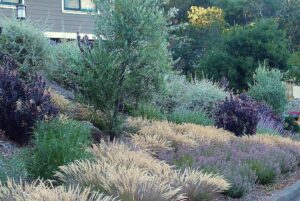
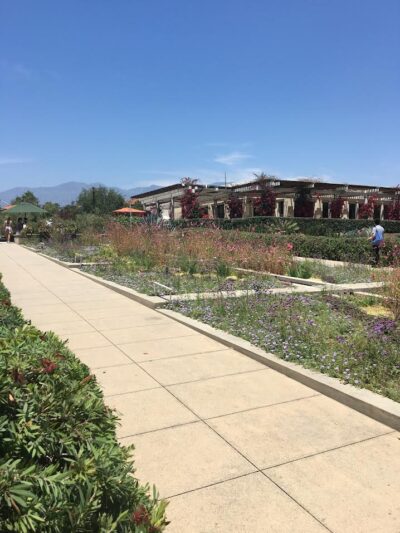
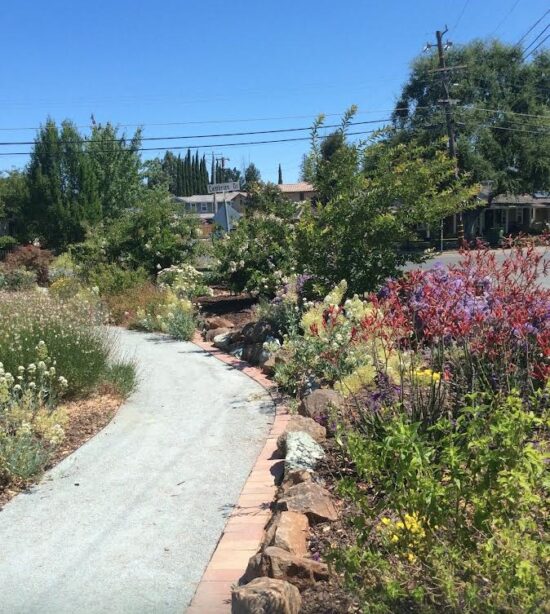
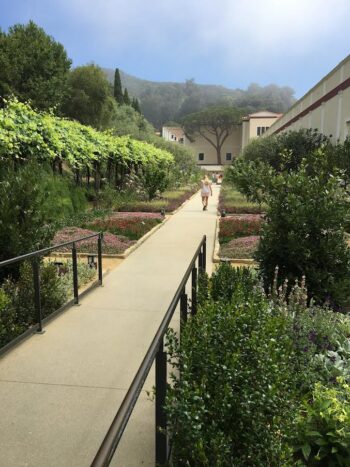
Starting with compacted fines or decomposed granite, which is basically just one step above loose gravel in cost and look. You will see this commonly in parks, public gardens and walking trails. Fines are very small particle rock between coarse sand and very small gravel in size. It usually comes in tan and gray colors. Some landscape supply companies have fines pre-mixed with binder available. Binder is a stabilizing agent used to firm up the path and is porous so water can drain through the rock.
This type of paving is very informal and best for small sitting areas in the garden or for pathways. It can track and is somewhat dirty so not great for sliding chairs or bare feet. In some cases, it gets soft in winter. Never use on sloped areas as the material erodes. It is normally edged with wood, metal edging strips or blocks of stone or pavers. I would use this in my designs for minor path areas and small sitting areas with a bench or glider/bench swing.
Basalt Fines packed in place. Usually edged with redwood or metal. This path has a metal edge on one side and pavers on the other. Binder has been used to help firm up the path. This path is used by a client with a motorized scooter and has worked well.
The fines path areas can have more material added over time and binder re-applied to compensate for wear, sinking or need for leveling.
Concrete Paving
In the world of paving types for the landscape, concrete has the advantage of being clean, even and long lasting. There are many variations on concrete paved surfaces available. Concrete should always have expansion joints laid every 6-10’ included in the cost plus a layer of base rock under the paving at least 4” thick and compacted in place. The concrete should be reinforced with rebar grid. Metal mesh is acceptable only for shed floors, minor path areas or storage areas.
Plain concrete is what you see on sidewalks. Light gray with joints regularly spaced along the walkway. A good concrete job with last for decades without a lot of major cracking or shifting. Some minor cracks are to be expected since the earth and soil has some motion and shifting over time. Use a root barrier near trees to avoid roots lifting the paved surface.
Smooth or polished concrete paving should never be used outdoors to avoid slip hazards.
Variations on concrete paved areas include rock salt finish- rock salt pressed into the surface of the concrete then washed out when concrete is dry. Sand finish concrete- coarse sand pressed into the concrete surface then washed out when the concrete is dry. Exposed aggregate concrete- wet concrete seeded with small stones on the surface and pressed in to be exposed when the concrete is drying. Any of these types of concrete can have added coloring or pigmenting. And can have brick, stone or paver rows as expansion joints or step or patio edges.
Stamped concrete has rubber mold pattern mats pressed into the wet concrete giving the surface the look of stones, brick or deck boards. Often the concrete is pigmented in addition to the stamping so the patterns show up better.

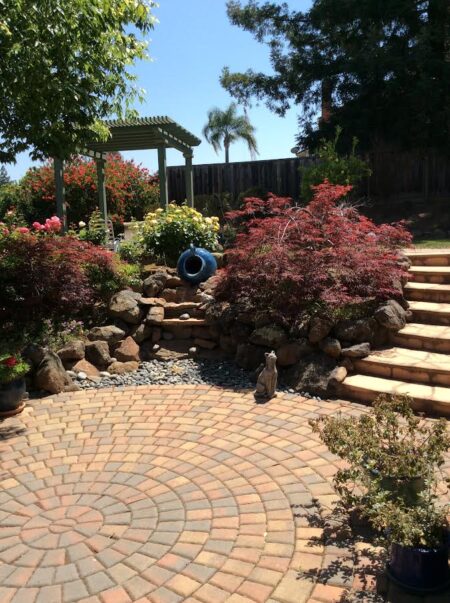
Interlocking Pavers or Pavingstones
By far the most popular types of paving for landscaping are Interlocking Pavers also called Interlocking Pavingstones.
These are kiln fired compressed concrete blocks in different sizes and shapes and are installed in varied patterns and color mixes. Interlocking Pavers are laid on a compacted base rock pad- 4-12” thick with 1-2” of sand just below the pavers and is used for leveling.
There are different ways of edging the paving. Concrete can be laid as a footing edge below the soil surface on the outside of the paving. Another method is to lay a concrete footing along the edge of the paving and install the outside row of pavers (soldier or sailor row) over the footing using paver mastic to hold them in place. Pavers can also be edged plain finish or pigmented concrete, Brick., Stone blocks or even boulders.
Interlocking Pavers used to be a similar cost to installing exposed aggregate concrete but as labor rates have risen, installed pavers have become more moderate range in cost.
There is a right way to install pavers and a poor, pitiful way of laying them. Always follow the manufacturers specifications and use the right base layer depth for the application. Interlocking pavers can be used for driveways but need a thicker layer of base rock for this type of job.
Apply sand to the surface of the pavers before compacting and sweep the sand mixed with binder into the joints between the blocks. Gator Sand or Polymeric sand is available as a premixed sand and binder mix.
This is how the term Interlocking comes into play. Interlocking pavers have nubs on the sides of the blocks, as the finished paving is compacted with a vibrating compactor, the nubs etch into the adjacent paver. This helps the paved surface stay tight. You can still pry up the pavers with a screwdriver for repairs and to replace a section. Also, a paver patio or walk has its cracks built in- the joints can allow minor expansion and compaction eliminating the cracking that concrete can have.
Flagstone and Stone Tile Paving


Masons can also use the base that is used for Interlocking Pavers for other materials. Brick, Flagstone, Travertine and other stone slabs can be laid this way with joints no bigger than 1-2” and with brick, stone tile or slabs at least 1 ½”- 2” thick. Edge these paved areas with pavers, brick, square cut stone or redwood edging. Lay edge over a concrete footing except redwood 2×4 which is held in place with rebar rod driven into the ground 18”-24” apart all along the 2×4.
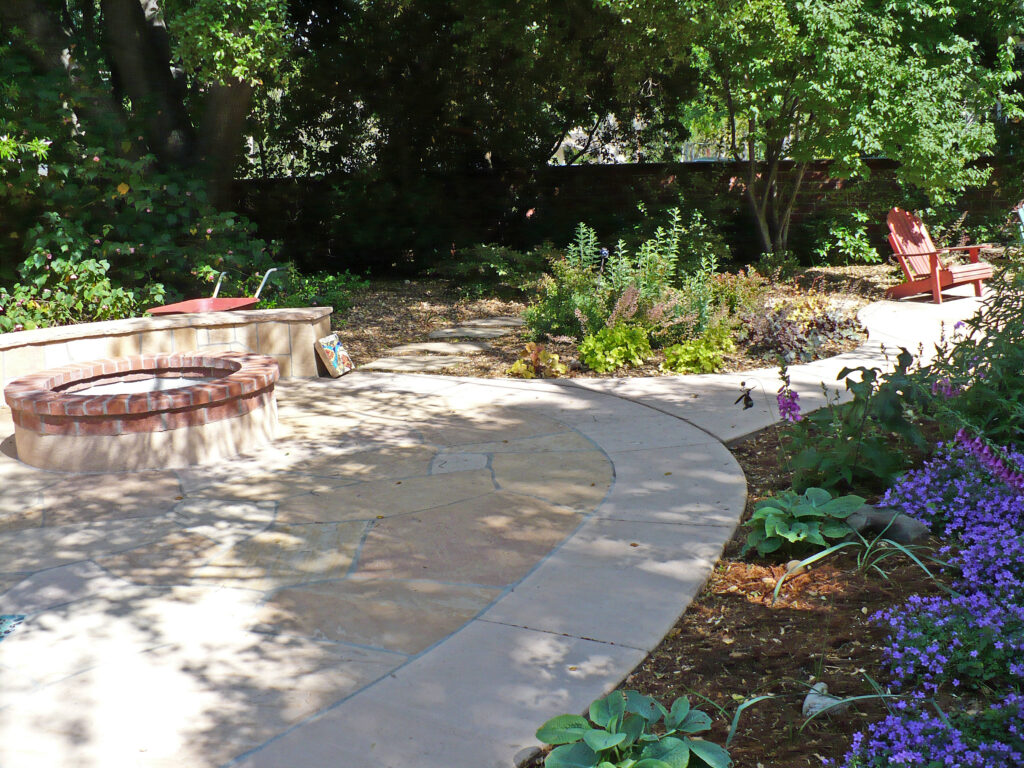
Traditionally flagstone, brick, slate and stone tile is laid over a concrete pad and mortared in place. It is expensive to install this way as each layer of material has a per square foot cost: the base rock layer, concrete then the stone or brick layer. It is certainly sturdy and should still be laid this way for thin materials like slate and outdoor porcelain tile, half brick, or thin flagstone.
A lot of porch areas are poured concrete when a home is built and can be covered or veneered with stone tile, outdoor porcelain tile or thin flagstone.
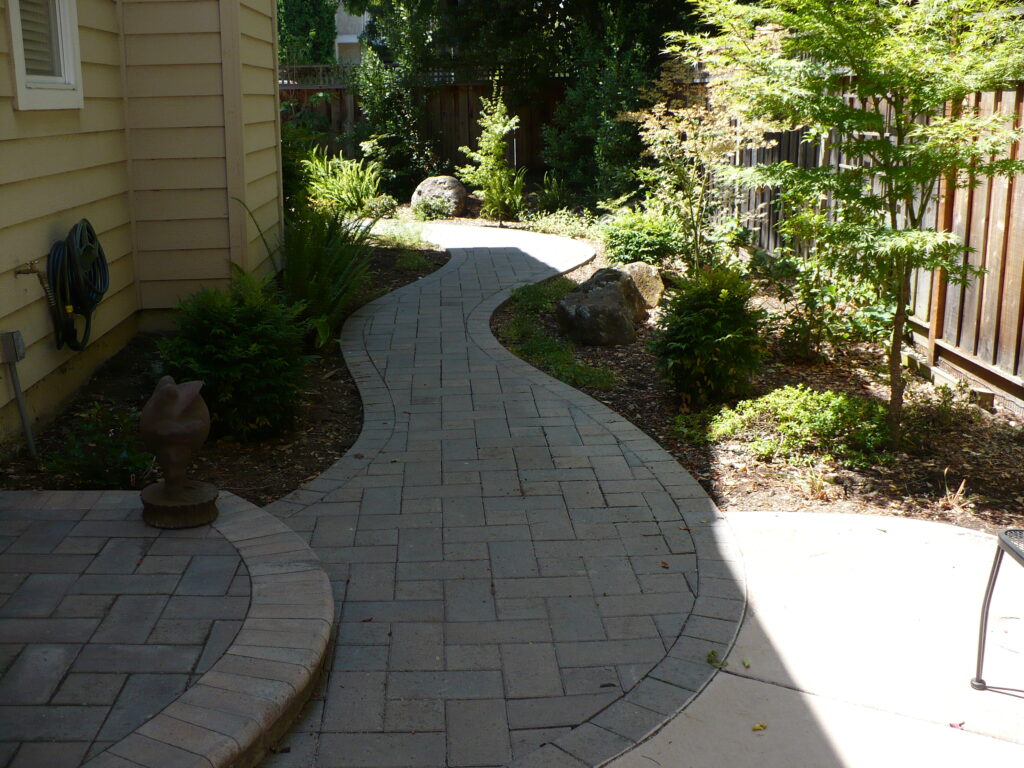
This is a nice way of adding a premium material to a smaller area than a whole patio or walk area giving an elegant look at the front or back door then transitioning to a nice but less expensive material for the walk or patio. In the picture, shown below, the slate porch and step meets a paver walkway that is a good complimentary color to the stone.
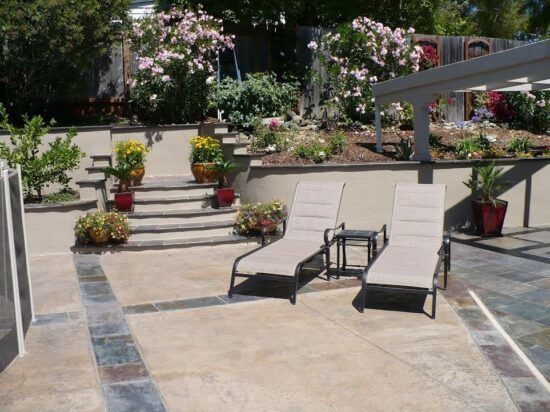
The soft, light tones of travertine make a gorgeous floor, patio or porch area. The surface has small indents where minerals have washed away over thousands of years. In recent years both thin tile and heavier paving tiles have become available and can be laid on concrete or on paver base when using the thick paving slabs. Expensive but beautiful, this material has been used for high end homes in both the interior and exterior of the houses.
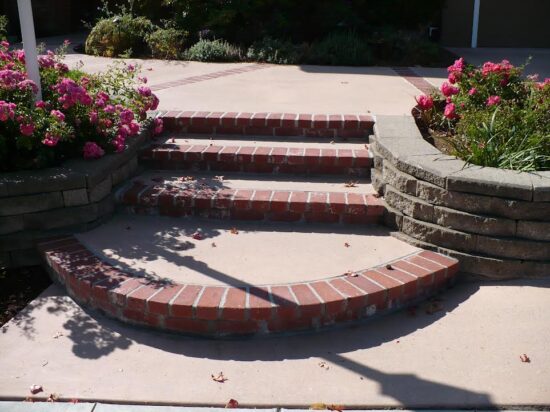
Connecticut Bluestone is available as a tile shape, 3 size ashlar or pattern of squares and rectangles and irregular shape. The soft grays and light tans of the stone are easy to combine with other paving and decorator colors of the house and flower and leaf colors of the garden. Pictured on the next page are some steps laid on a concrete foundation showing both square shapes and the irregular of bluestone. On the higher end in cost, it is a nice accent for small areas. Flagstones or irregular shaped stones can also be used in the garden as stepping stones.
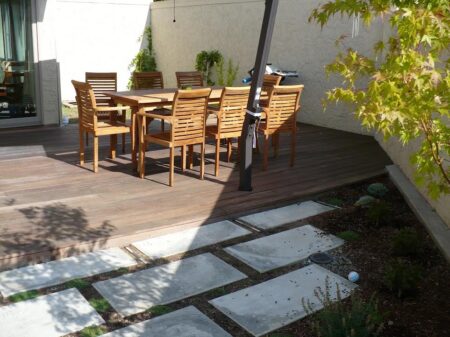
A Note about Wood Decking
Redwood, Cedar or Composite decking has become so expensive that I usually only use decks where we couldn’t build a patio i.e. a sloping area or a home that is much higher than the ground and we need to build up the area to gain access in and out of the home. One thing about using decking though, is that it can be a more straightforward item to build for do-it- yourselfers keeping in mind that the material is costly and not as long lasting as paving.
If you are interested in decking, take a look at the Timber Tech website to get some information and see more pictures. Always follow the manufacturers specifications carefully when using these products. Composite Lumber, like Timber Tech, is made from recycled plastics and wood fiber.
Additional Paving Examples and Materials Used for Path Areas


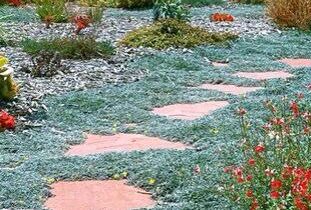
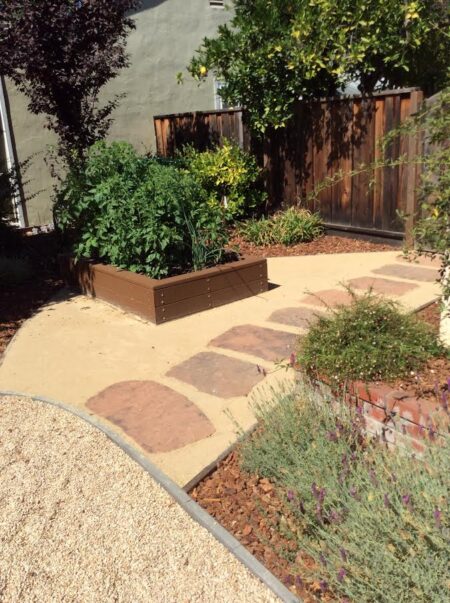

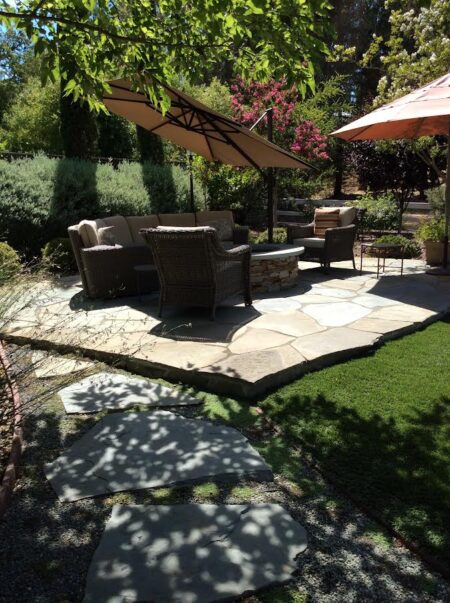
The best way to lay stepping stones or pads is over a compacted fines base with 1″ on top for leveling the stones. Dig out the whole path to a depth of 3-4″. Lay down a 2-3″ layer of fines (very small particle rock) and pack well with a gas powered compactor or use a heavy roller (a landscape roller filled with water). Then lay a 1″ layer of sand over the fines and compact the sand.
Leave a 2-4″ gap between the stones or up to 10-12″ if using a single row of flagstones. Best to use large slabs of stone and in the thickest dimension you can get- usually 1 1/2″-2″.
Lay out the stones in the path and walk on them to see if it is a comfortable spacing between the stones to walk the path easily.
The space between the stones are called joints. You have options as to what you want to use in the joints. You could use fines premixed with binder. Or you could fill the joints with topsoil and mix it down into the sand and fines layer. This makes a place to plant low ground covering plants like Dymondia or Creeping Thyme. In our garden, I used some very pretty, loose 1/4″ stones normally used for exposed aggregate concrete. The colors were nice and blended will with the stone slabs.
Lastly, if you are using fines or loose small stones in the joints then you have the option of using a woven weed barrier below the sand and stone slabs. You will still get some weeds but, not any that are deeply rooted. Apply a pre-emergent herbicide to avoid weeds in your garden in general.
Are you interested in designing your garden and need help? Check out my course about Landscape Design. A digital book full of information from drawing plans to how to choose materials. The bulk of this article is an excerpt from my course book.